


How to Measure for Security Doors?
Measuring for a security door is not only about getting the width and height. A security door is a system made up of the door leaf, frame, hinges, lock points, and threshold. If any measurement is taken from the wrong reference line, the result can be gaps that look uneven, a door that rubs, or locks that do not align smoothly. The best approach is to measure the opening in multiple places, confirm the wall and frame conditions, and document the details a supplier needs to build a door that installs cleanly and performs as intended.
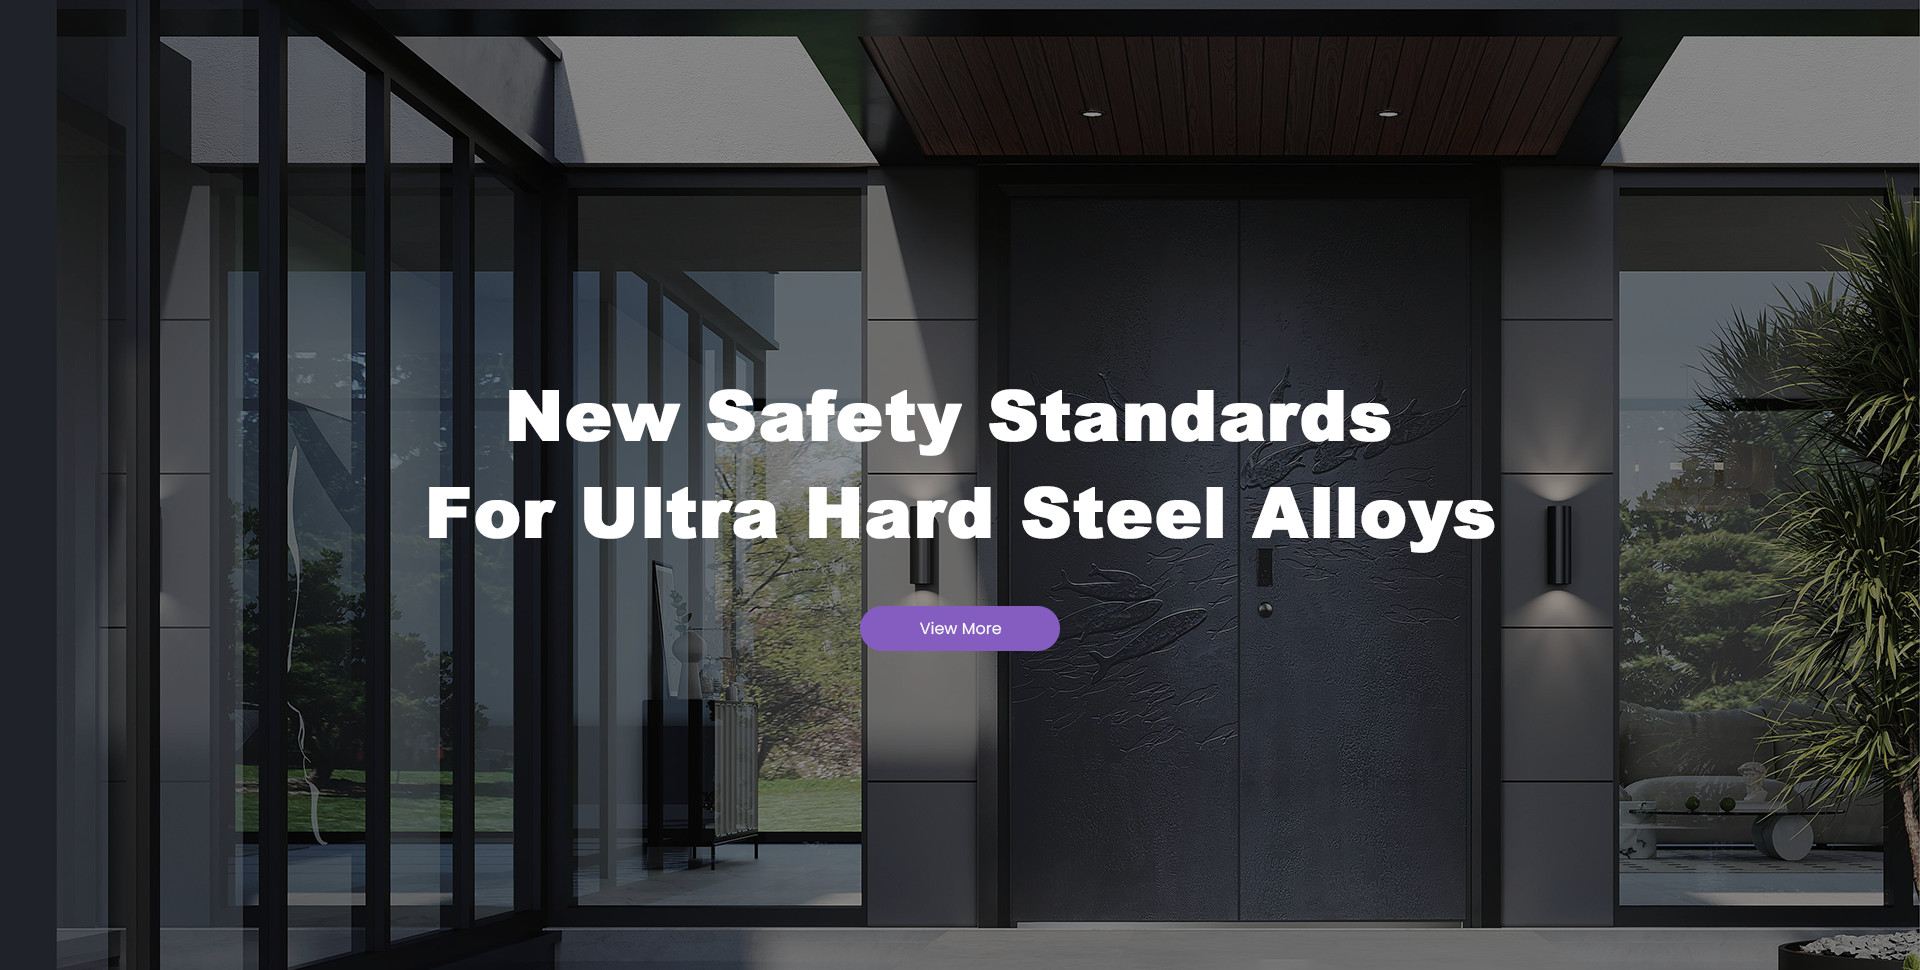
DONAR manufactures stainless steel security entrance doors for residential and commercial projects. At the end of this guide, you will find a summary of what DONAR provides to help buyers reduce measurement risk and improve installation success. You can also continue on our Security Doors section when you are ready to compare configurations.
Table of Contents
- What you need to measure before you start
- Tools and simple setup
- Step 1: Measure the opening width correctly
- Step 2: Measure the opening height with floor reality included
- Step 3: Check squareness, plumb, and level
- Step 4: Decide what size you are ordering
- Step 5: Measure wall thickness and return depth
- Step 6: Confirm swing direction and hinge side
- Step 7: Capture lock and hardware requirements
- Step 8: Measure the existing door and frame if you are replacing like-for-like
- Common measurement mistakes and how to avoid them
- Where these measurements are used in real security door projects
- How DONAR supports accurate ordering and reliable installation
What you need to measure before you start
Before taking numbers, confirm what you are measuring.
Are you replacing only the door leaf, or the full door set
Most security door projects replace the full door set including the frame, because the frame strength and anchoring are part of security performance. If you are replacing only the leaf, you must measure the existing frame and hinge preparation with extra precision.Do you have a finished opening or a rough opening
A finished opening means the wall, floor finish, and trim are complete. A rough opening means the frame will be installed into unfinished structure and later covered by trim or finish layers. These two conditions require different allowances.Is it a single door or a double door
Double doors require additional measurements: meeting stile alignment, active and passive leaf widths, center gap, and astragal requirements.
Tools and simple setup
Accurate measurement is easier when the opening is clean and references are consistent.
Tape measure with clear metric and inch markings
Level or laser level for plumb and level checks
Straightedge or long ruler
Notepad or measurement form
Camera or phone for recording frame and wall details
If the existing door is still installed, measure with the door open and also measure the clear opening with the door closed to understand real gaps.
Step 1: Measure the opening width correctly
Width must be measured in more than one place because openings are rarely perfectly square.
Measure the width at three heights
Measure inside-to-inside across the opening at:
Top
Middle
Bottom
Record all three numbers
Do not average them. The smallest width is usually the controlling dimension because the frame and door must fit the tightest point.Note any obstruction
If there is tile buildup, uneven plaster, a protruding skirting board, or a step at the floor, note it. Small protrusions can block frame seating.
If you are ordering a full door set, suppliers often work from the smallest width and then design the frame and cover trims to accommodate wall variation.
Step 2: Measure the opening height with floor reality included
Height mistakes often happen because buyers measure to the wrong floor reference.
Measure height in at least two places
Measure from the finished floor level to the underside of the opening at:
Left side
Right side If the opening is wide or visibly uneven, also measure at the center.
Confirm the finished floor condition
If flooring will be added later, measure current height and record the planned floor thickness. Security door thresholds and bottom clearances must match the final floor level, not today’s temporary surface.Identify the bottom clearance need
Different projects require different bottom gaps depending on threshold style, weather sealing, and local building requirements. Record whether you want a tight sealed threshold or a more open clearance for airflow.
Step 3: Check squareness, plumb, and level
Even if width and height are correct, an out-of-square opening causes visible gaps and rubbing.
Check diagonal measurements
Measure diagonally from top-left to bottom-right, then top-right to bottom-left. If the diagonals differ, the opening is not square. Record the difference.Check jamb plumb
Use a level along the left and right sides. If one side leans, the frame may need shimming or the wall may need correction.Check header level
Place a level along the top. If the header is not level, it affects reveal uniformity and door swing.
These checks are important because security doors are typically heavier and less forgiving of misalignment. Good measurement documentation helps the supplier recommend an installation strategy.
Step 4: Decide what size you are ordering
Buyers often confuse three different size concepts.
Clear opening size
This is the actual open space you can measure in the wall.Frame outer size
This is the outside dimension of the door frame that must fit into the opening.Door leaf size
This is the size of the moving door panel inside the frame, which is smaller than the frame because it needs working gaps.
If you order a complete security door set, the supplier typically designs the frame outer size to suit the opening and designs the door leaf to suit the frame with proper reveals.
Step 5: Measure wall thickness and return depth
Wall thickness affects frame design and cover trim selection.
Measure wall thickness at multiple points
Measure the thickness of the wall from interior finished surface to exterior finished surface. If finishes vary, record the minimum and maximum.Record return depth and trim constraints
If there is limited space for cover trims due to nearby cabinets, switches, or narrow corridors, note the available trim width and any obstacles.
This step is especially important for retrofit projects, where old frames may have hidden irregularities.
Step 6: Confirm swing direction and hinge side
Security door preparation depends on swing direction.
Determine hand
Stand on the side where you pull the door open toward you.
Hinges on the left means left-hand
Hinges on the right means right-hand
Confirm in-swing or out-swing
Record whether the door opens inward or outward. This impacts:
Hinge preparation
Weather sealing strategy
Threshold design
Safety and clearance in the entry area
Step 7: Capture lock and hardware requirements
Even when the supplier provides the lock, the project still needs correct functional decisions.
Record lock height preference
Many projects follow standard handle heights for comfort and building consistency. If you have an existing strike height you must match, measure from finished floor to the handle centerline.Confirm the locking concept
Security doors commonly use stronger lock engagement strategies. If your project requires multi-point locking, communicate that early so the frame strike preparation matches.Note access control needs
If the door will use a smart lock, intercom release, or special cylinder format, record it. Hardware choice can change cutout requirements.
Step 8: Measure the existing door and frame if you are replacing like-for-like
If you must match an existing installation, measure the actual components.
Existing door leaf thickness
Measure the leaf thickness at the edge. Security doors are often thicker than standard doors, which affects hinges, frames, and seals.Hinge positions
Measure from the top of the door to the top of each hinge, and record hinge size. If you want to reuse hinge locations, accuracy matters.Frame depth and stop position
Measure how deep the door sits relative to the frame and where the stop line is. This affects sealing and how the door closes.
Common measurement mistakes and how to avoid them
Measuring only once
Openings vary. Always measure width at three points and height at two points minimum.Ignoring the smallest dimension
The smallest width or height is often the controlling dimension for fit. Record it clearly.Forgetting finished floor changes
A future floor layer can reduce height and cause bottom rubbing or sealing failure if not planned.Not checking out-of-square conditions
Diagonals reveal hidden shape issues that cause uneven gaps after installation.Not documenting obstacles
Nearby walls, trims, steps, and switches can block frame trims or limit installation options.
Where these measurements are used in real security door projects
Security doors are often used in home main entrances, apartments, villas, offices, and mixed-use buildings. In each case, measurement quality affects more than appearance.
Better fit improves security because gaps are tighter and pry access is reduced
Better alignment improves daily usability because locks engage smoothly without forcing
Better frame matching improves durability because hinges and locks stay in position over time
How DONAR supports accurate ordering and reliable installation
After you have the correct measurements, supplier capability determines how smoothly the project moves from ordering to installation. DONAR supports security door projects with:
System-based door set supply
We focus on complete stainless steel security entrance door systems, not only the door panel, so frame and hardware coordination supports real security performance.Practical specification matching
Our team helps match door configuration, swing direction, and threshold approach to real site conditions, reducing common ordering mistakes.Consistent manufacturing for stable fit
Consistent production reduces dimensional variation, which helps installers achieve uniform reveals and smooth lock engagement across multiple doors in a project.Project-friendly communication
Clear measurement requirements and structured documentation help buyers confirm details faster and reduce rework risks.
When you are ready to move from measurement to model selection, visit our security doors section to compare options and align specifications with your opening conditions.