



How To Adjust Door Closer?
A door closer is adjusted by identifying the correct control valve and turning it in very small increments. Most hydraulic closers allow separate adjustment of the main closing speed and final latching speed, while some models also include backcheck or delayed-action control.
The closer model and installation manual should always take priority. Incorrect adjustment can make the door slam, fail to latch, remain open, or become difficult to use.
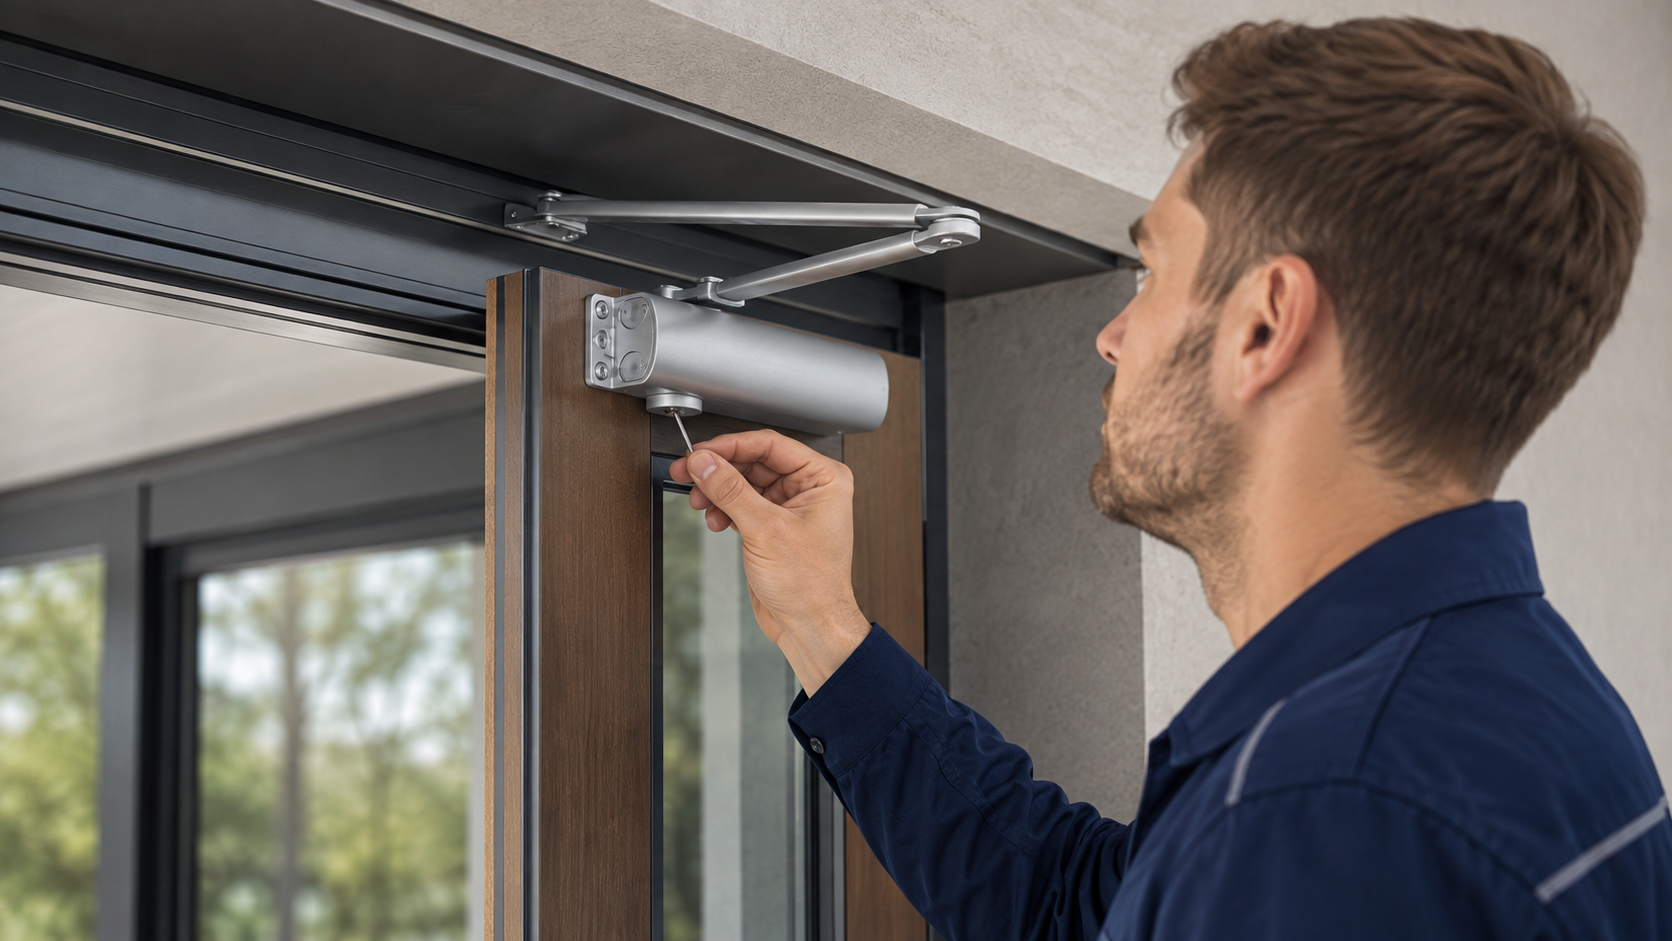
Table of Contents
- Identify the Problem Before Turning a Valve
- Understand the Closing Stages
- Prepare the Door Safely
- Adjust the Sweep Speed
- Set the Final Latching Speed
- Check Closing Force Separately
- Weather and Building Pressure Can Change Performance
- Special Warning for Fire and Security Doors
- Door and Closer Compatibility Starts at the Factory
- Arrange a Door Hardware Compatibility Review
Identify the Problem Before Turning a Valve
Operate the door several times and watch the complete closing cycle.
Determine whether the problem occurs:
Immediately after release
Through the middle of the swing
During the final few degrees
Only in cold weather
Only when windows are open
After a new seal was installed
When the door opens beyond a certain angle
The door closer may not be the real cause.
A door can close incorrectly because of misaligned hinges, excessive weather-strip pressure, a dragging threshold, an uneven frame, a loose lock body, or changing air pressure inside the building.
Understand the Closing Stages
Many hydraulic closers divide movement into two main stages.
Sweep speed
This controls the main movement from the open position toward the frame.
Latch speed
This controls the final part of the closing cycle, helping the latch enter the strike plate.
Some models also include:
Backcheck
This adds resistance when the door is opened forcefully toward its maximum angle.
Delayed action
This keeps the door moving slowly through part of the closing cycle for accessibility or controlled passage.
Do not assume valve positions are identical between brands. Look for markings on the closer body or consult its technical sheet.
Prepare the Door Safely
Keep fingers, tools, and clothing away from the hinge edge.
Use a stable step platform when the closer is mounted overhead. Do not stand on an unstable chair.
Before adjustment:
Tighten loose mounting screws.
Check the closer arm connection.
Inspect for leaking hydraulic fluid.
Confirm that the door moves freely by hand.
Remove temporary objects blocking the swing.
Check the latch and strike.
Confirm that the door is not rubbing against the floor.
A leaking closer should normally be replaced rather than repeatedly adjusted. Loss of hydraulic fluid prevents consistent speed control.
Adjust the Sweep Speed
Locate the sweep-speed valve according to the closer diagram.
Turn it only a small amount, commonly a fraction of one rotation. Test the door after every change.
On many hydraulic models, tightening the valve reduces oil flow and slows the door, while loosening it increases speed. This direction should still be confirmed for the actual product.
Do not remove the adjustment screw from the closer body. Excessive loosening can release fluid and permanently damage the unit.
The door should move smoothly rather than pausing, accelerating suddenly, or slamming into the frame.
Set the Final Latching Speed
The latch stage must provide enough movement for the latch bolt to enter the strike without producing a strong impact.
When the door stops just before closing, possible causes include:
Latch speed is too slow
Weather stripping is too thick
The strike is misaligned
Air pressure resists closing
The lock body is binding
The closer spring power is insufficient
The door leaf is rubbing
Increase the latch speed only after checking these mechanical issues.
A louder final movement is not necessarily a correct solution. Excessive impact accelerates wear on the lock, frame, seals, and closer arm.
Check Closing Force Separately
Some closers allow spring-power adjustment. This affects closing force rather than hydraulic speed.
A larger or heavier entrance door may require greater force, especially when it uses:
Thick compression seals
Multipoint locks
Wide door leaves
Heavy decorative panels
Exterior wind resistance
Controlled-building air pressure
Increasing force can also make the door harder to open. Accessibility and fire-door requirements may limit the acceptable opening resistance.
Do not adjust spring power without checking the closer rating, door width, weight, and local requirements.
Weather and Building Pressure Can Change Performance
Hydraulic fluid reacts to temperature. A closer adjusted in warm conditions may move differently during cold weather.
Building pressure also matters. Exhaust systems, air-conditioning, stairwells, and open windows can push or pull an exterior door.
Test the closer under normal operating conditions.
For a commercial entrance, observe the door during both quiet periods and busy traffic. A setting that works with an empty building may not remain stable when pressure doors or ventilation systems are operating.
Special Warning for Fire and Security Doors
Fire-rated, smoke-control, and emergency doors should not be adjusted casually.
Their closing devices may be required to:
Close from any permitted opening angle
Engage the latch completely
Resist hold-open behavior
Coordinate with access control
Maintain smoke seals
Comply with inspection requirements
A qualified door-hardware technician should inspect these installations.
Do not wedge open a fire door or disable its closer because it feels inconvenient.
Door and Closer Compatibility Starts at the Factory
Our entrance-door production covers aluminum-system, stainless steel, steel, armored, pivot, and cast-aluminum structures.
As a commercial entrance door closer OEM manufacturer, we can prepare the door frame and leaf for a specified closer, arm, lock body, hinge, smart lock, and opening direction before final assembly.
OEM/ODM coordination may include:
Closer mounting reinforcement
Door weight and width review
Parallel-arm or regular-arm preparation
Frame-head dimensions
Hinge position
Lock and strike alignment
Seal compression
Opening-angle requirements
Surface finish
Installation drawings
Laser and CNC processing support repeatable hole positions, while ERP management coordinates drawings, materials, manufacturing, inspection, warehousing, and shipment.
Arrange a Door Hardware Compatibility Review
Provide the door dimensions, approximate weight, opening direction, closer model, traffic level, lock type, seal structure, and project quantity.
We can review the complete hardware relationship and prepare an OEM quotation covering technical drawings, pre-machining, sample assembly, quality checks, project labeling, and delivery planning.
Previous: How To Fix A Door That Won'T Latch?